October 1, 2026
Solar energy systems can help homeowners generate electricity from sunlight, but the installation process involves much more than placing panels on a roof. A professional solar panel installation typically begins with evaluating the property, determining where panels can perform effectively, designing the electrical system, securing equipment, and completing inspections before the system begins operating. Each stage helps connect the panels, wiring, inverter, mounting equipment, and electrical service into one coordinated system.
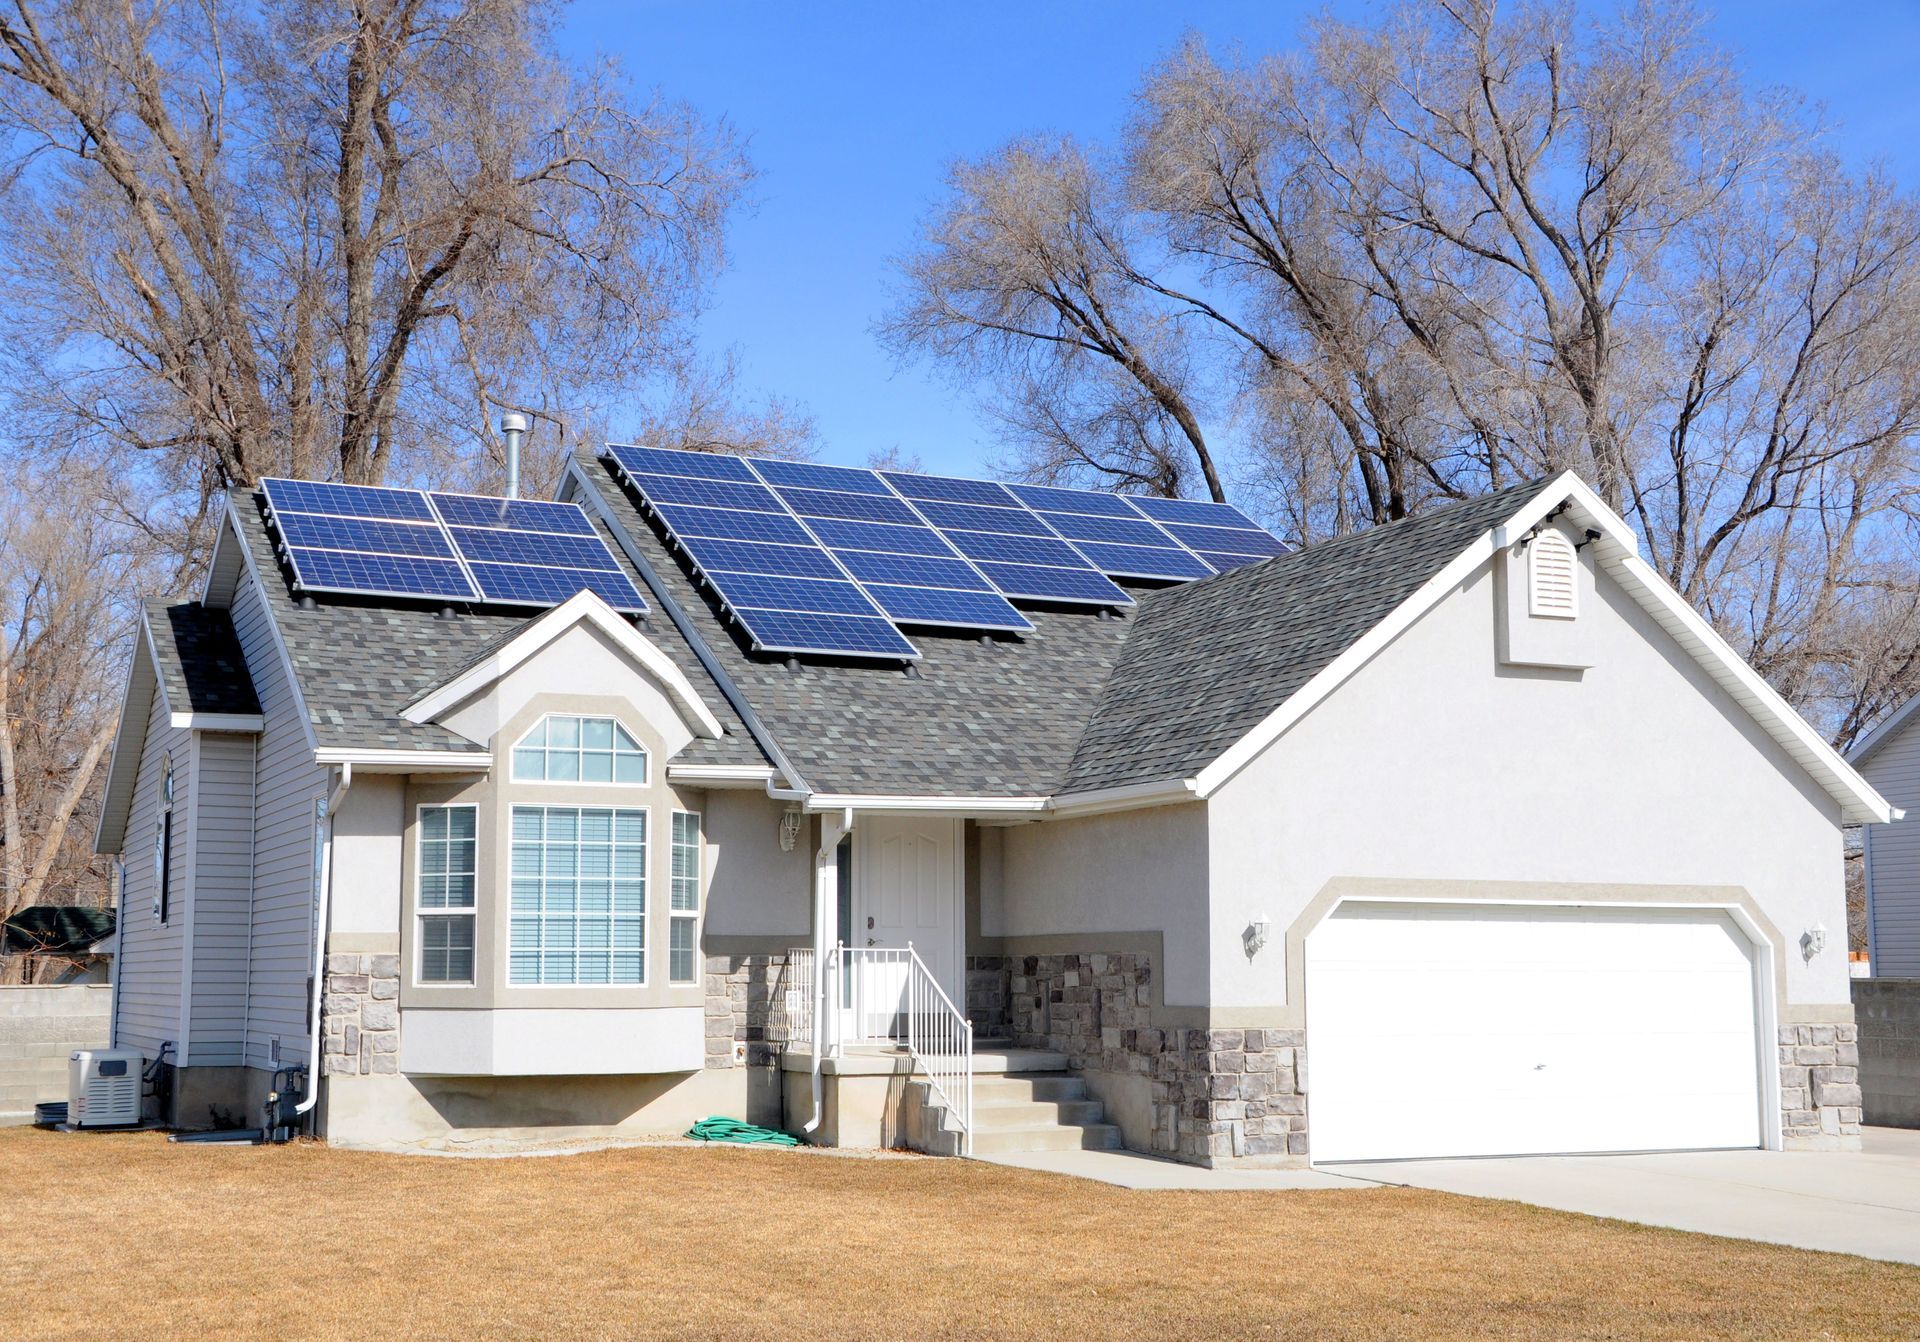
Roof orientation and pitch can influence how much sunlight panels receive throughout the year. According to the Department of Energy, solar panels generally perform best on south-facing roofs with slopes between 15 and 40 degrees, although other roof orientations and angles can also be suitable. Professional installers consider these factors along with shade, roof condition, electrical capacity, and local requirements before determining the best layout for a property.
Evaluating the Property Before Installation
Reviewing Roof Condition
The roof needs to be in a suitable condition before equipment is installed. Installers can evaluate roofing materials, visible wear, structural considerations, and the expected remaining service life. If major roofing work is already needed, addressing it before solar equipment is mounted can help avoid removing and reinstalling panels later.
Reviewing Sun Exposure
Trees, nearby buildings, roof features, and other obstructions can create shade that affects production. A professional solar panel installation assessment can consider how sunlight reaches different portions of the property throughout the day and across different seasons before determining where panels should be positioned.
Reviewing Roof Orientation
Orientation affects how directly sunlight reaches the panels. South-facing areas often provide strong solar exposure, but east- and west-facing surfaces can also support productive systems depending on the property. Installers can compare available roof sections and determine which areas provide the best balance of sunlight and usable space.
Reviewing Electrical Capacity
The existing electrical system must be evaluated before new solar equipment is connected. The service panel, available breaker space, utility connection, and other components can influence system design. Some properties may require electrical updates before installation can proceed.
Designing the Solar Energy System
Determining System Size
System size can depend on household electricity use, roof area, sunlight availability, utility rules, and project goals. Installers can review energy consumption and determine how many panels may be appropriate for the property rather than selecting a system based only on roof size.
Determining Panel Placement
Panel layout must account for roof edges, vents, chimneys, skylights, setbacks, and other structural features. A solar panel installation plan organizes panels so they fit available roof areas while maintaining necessary access and meeting applicable requirements.
Determining Equipment Configuration
Solar systems can include panels, inverters, rapid-shutdown equipment, monitoring devices, mounting hardware, and other components. These parts must be selected to work together electrically and physically. The system design also determines how energy will move from the panels into the home's electrical system.
Determining Wiring Routes
Installers plan how the wiring will travel between the array, inverter, electrical panel, and utility connection. Thoughtful routing can help protect conductors while keeping the finished system organized. Wiring paths may depend on roof construction, attic access, panel location, and equipment placement.
Preparing the Roof and Mounting System
Locating Structural Attachment Points
Mounting equipment must be secured to appropriate structural areas of the roof. Installers locate rafters or other suitable attachment points before placing mounting hardware. These connections help support the panels against normal environmental forces such as wind and changing weather.
Installing Mounting Hardware
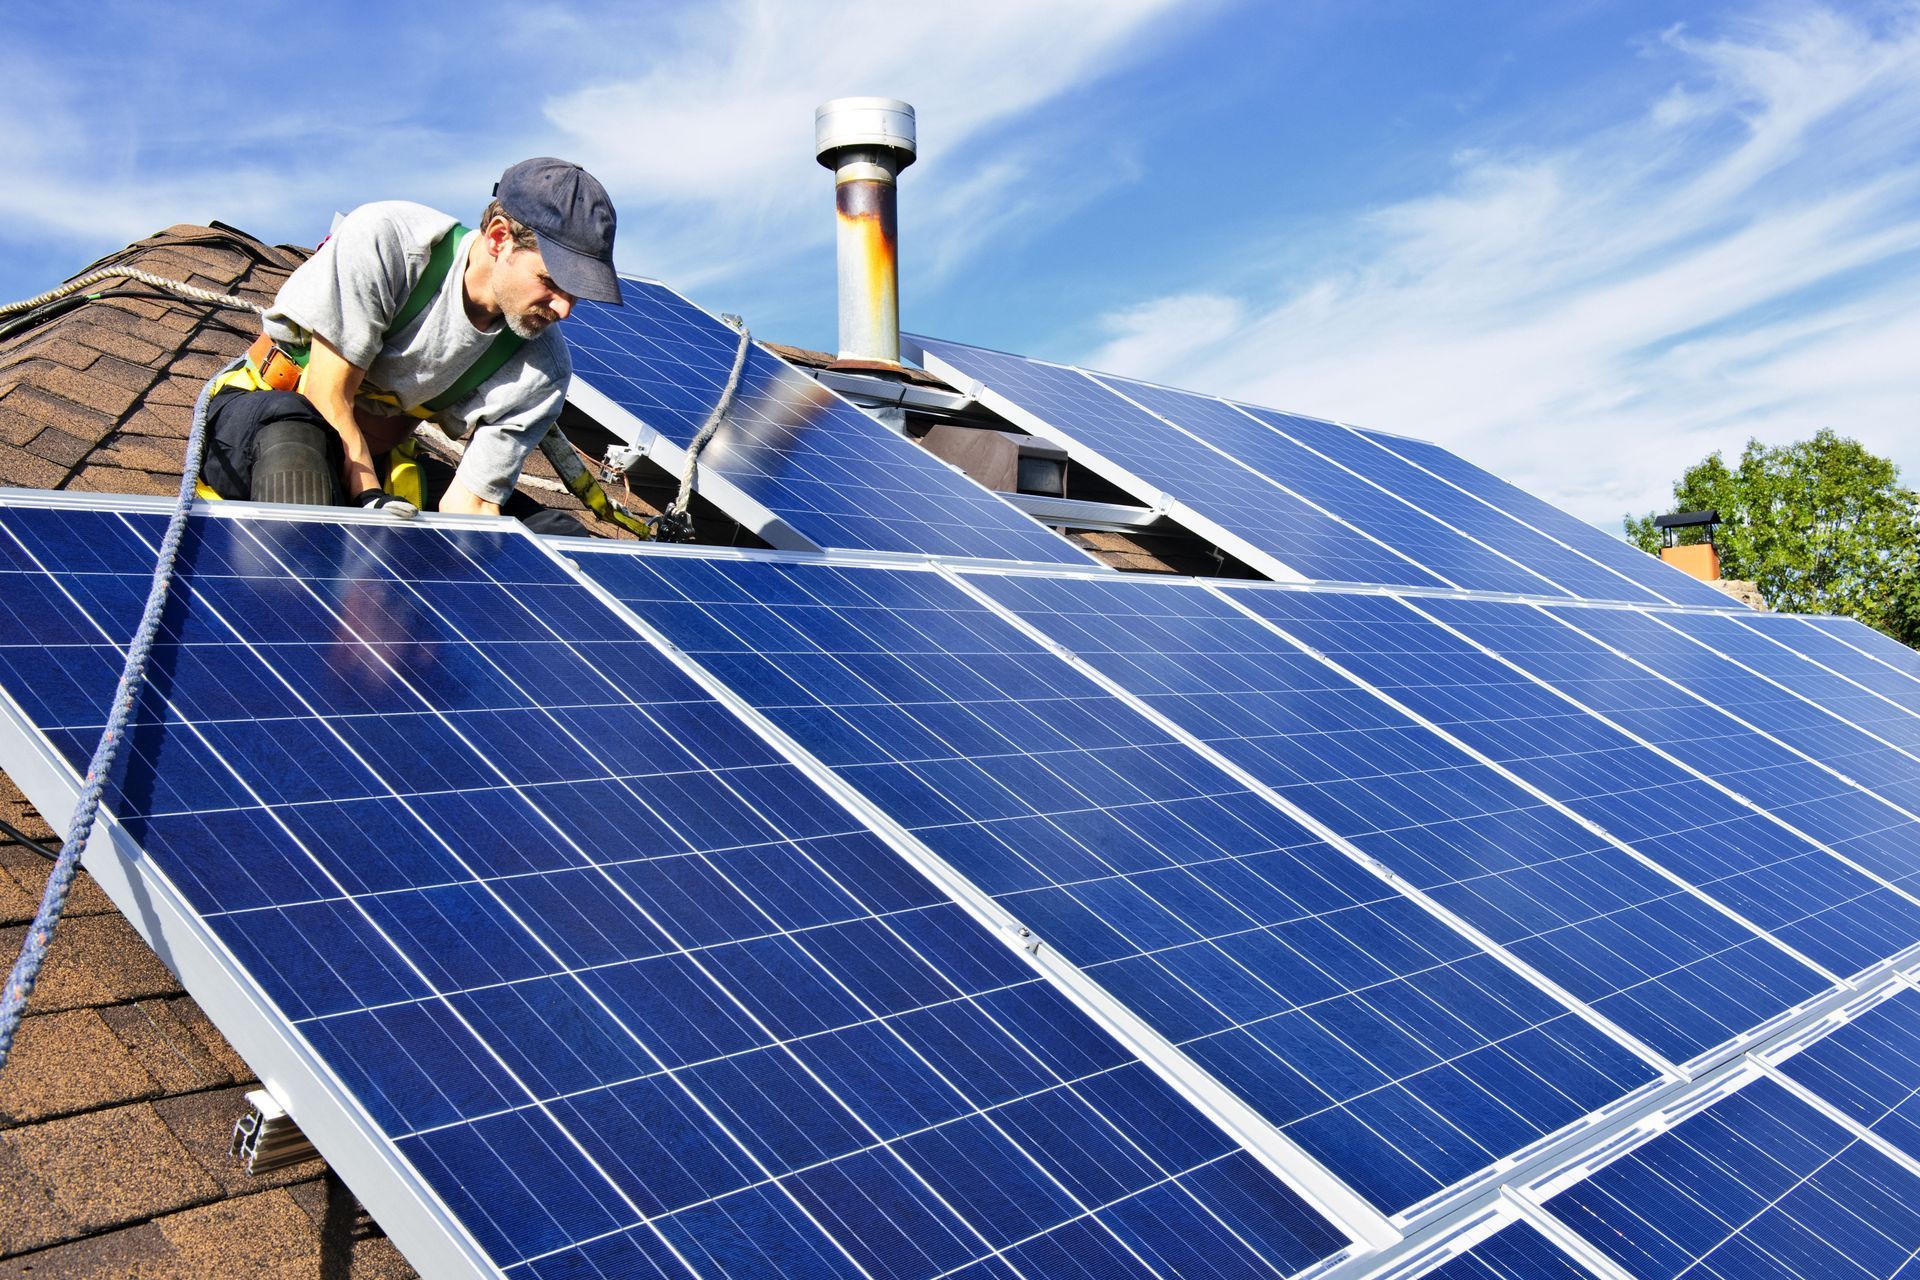
Racking and attachment systems provide the foundation for the array. During solar panel installation, professionals secure this hardware according to the system design and manufacturer requirements. The mounting structure must support the panel layout while maintaining proper spacing and alignment.
Protecting Roof Penetrations
Roof attachments can require penetrations depending on the mounting system and roof type. Professional installation includes appropriate flashing, sealing, or other methods designed to protect these areas from water intrusion. Proper detailing is important because the roof must continue performing after the solar equipment is installed.
Confirming Rack Alignment
Before panels are placed, installers can verify that the racking is positioned correctly and securely. Accurate alignment helps panels sit evenly and gives the finished array a clean appearance. It also helps prevent installation issues when individual modules are attached.
Installing Panels and Electrical Components
Securing Solar Modules
Once the mounting system is ready, panels can be positioned and fastened to the racking. Installers follow the planned layout and use approved clamps or mounting components. Each module must remain secure while maintaining the spacing and orientation established during design.
Connecting Panel Wiring
Solar modules generate direct-current electricity that must be routed through the system safely. During solar panel installation, electrical connections are completed according to the system configuration. Wiring is secured and protected so it does not hang loosely or interfere with roofing components.
Installing the Inverter
The inverter converts direct-current electricity from the panels into alternating-current electricity that can be used by the home. Depending on system design, the property may use a central inverter, microinverters, or another configuration. Installation location can affect accessibility, wiring routes, and overall system organization.
Connecting the Electrical System
Solar equipment must ultimately connect to the home's electrical service and utility infrastructure. Licensed professionals make these connections and install required disconnects, breakers, and safety devices. This work allows solar-generated electricity to become part of the property's electrical system.
Completing Inspections and System Approval
Reviewing the Finished Installation
After major equipment is in place, installers inspect the system for secure mounting, proper wiring, equipment labeling, and general workmanship. A final internal review can help identify anything that needs correction before outside inspections take place.
Completing Required Inspections
Local authorities may need to inspect the completed solar panel installation to verify that it complies with electrical, structural, and building requirements. Inspection procedures vary by jurisdiction, but approval is typically required before the system can proceed to final activation.
Coordinating Utility Approval
Grid-connected systems generally require utility authorization before they can operate normally. The utility may review interconnection documents, inspect equipment, or replace an existing meter with one capable of recording energy flowing in multiple directions.
Receiving Permission to Operate
Once required inspections and utility steps are complete, the system can receive permission to operate. At that point, homeowners can begin generating electricity from the installed array according to the system's design and local interconnection rules.
Starting and Monitoring the Solar System
Activating the Equipment
After approval, installers can complete system startup and verify that equipment communicates correctly. A professional solar panel installation includes checking that the inverter, monitoring equipment, and electrical components are operating as intended before normal use begins.
Reviewing Monitoring Tools
Many modern systems include monitoring platforms that allow homeowners to view electricity production. These tools can provide information about daily or long-term system performance and help identify unusual changes that may deserve professional attention.
Reviewing Maintenance Expectations
Solar panels typically have relatively limited routine maintenance requirements, but the system should still be monitored over time. Homeowners may need professional assistance if production changes unexpectedly, equipment reports a fault, or roofing work affects the array.
Reviewing Long-Term Performance
System output can vary with season, weather, shade, and changing property conditions. Trees may grow, nearby construction may alter sunlight exposure, and equipment naturally ages. Periodic attention to system performance can help homeowners stay aware of how effectively the array continues operating.
Installing a solar energy system requires coordinated planning, roof evaluation, electrical design, mounting, wiring, inspections, and utility approval. Each stage contributes to creating a system that fits the property and can operate safely once connected. Homeowners interested in generating electricity from sunlight can contact Klekner Solar Energy Solutions today to discuss professional solar panel installation and learn what system design may be appropriate for their home.